
Like all web developers, I love to experiment with new tools, libraries and frameworks. This time, for one of my side projects (my new portfolio), I decided to use NuxtJS, which is a framework built on top of VueJS that allows to build SPAs and static websites blazingly fast, and Prismic, which is a Cloud headless CMS.
I've been using WordPress for years, but recently I've started working with VueJS and Nuxt on other projects, and not much time passed before deciding to build my new portfolio with Nuxt, mostly because of VueJS' ease of use.
But having a static website means that whenever I want to update it I have to:
- Open my code editor
- Make all the changes needed
- Commit to my repository
- Upload the updated/new files to the server
Not the ideal situation to be honest; I wanted to have a static website but manage its content without writing code, this is why I decided to add Prismic to the project.
By using Prismic, I can have a static website that fetches its content from an API; sounds perfect!
But there's a downside: whenever I add new content (a blog post or a case study), I still have to add the new content's page to the site's source code, meaning I'm back at the starting point.
The solution is quite simple: during the generation of the site, I tell Nuxt to make calls to the Prismic API and dynamically create those pages.
Doing so, I don't have to write a single line of code anymore, bingo!
But I wanted to push it a bit further because it's true that this mechanism works, but every time a page is visited it makes a call to the Prismic API to fetch the content; this is pretty useless, and on a large scale website it can become costly.
I mean that I wanted to make those API calls only when generating the website, creating a completely static website, and at the same time having a CMS to manage its content.
"But how do I regenerate the website everytime I update the content?"
The website is hosted on Netlify and I've configured a webhook that whenever is triggered by Prismic it regenerates the whole website.
It's really easy to configure:
TL;DR;
You can find the code in this GitHub repository.
There's also a demo available.
01. Creating the NuxtJS app
Creating a new NuxtJS application is pretty straightforward, all you have to do is open your terminal and launch
yarn create nuxt-app <my-project>
At this point, nuxt-create-app asks a couple of questions like the project's name, description, server, UI framework to use and so on
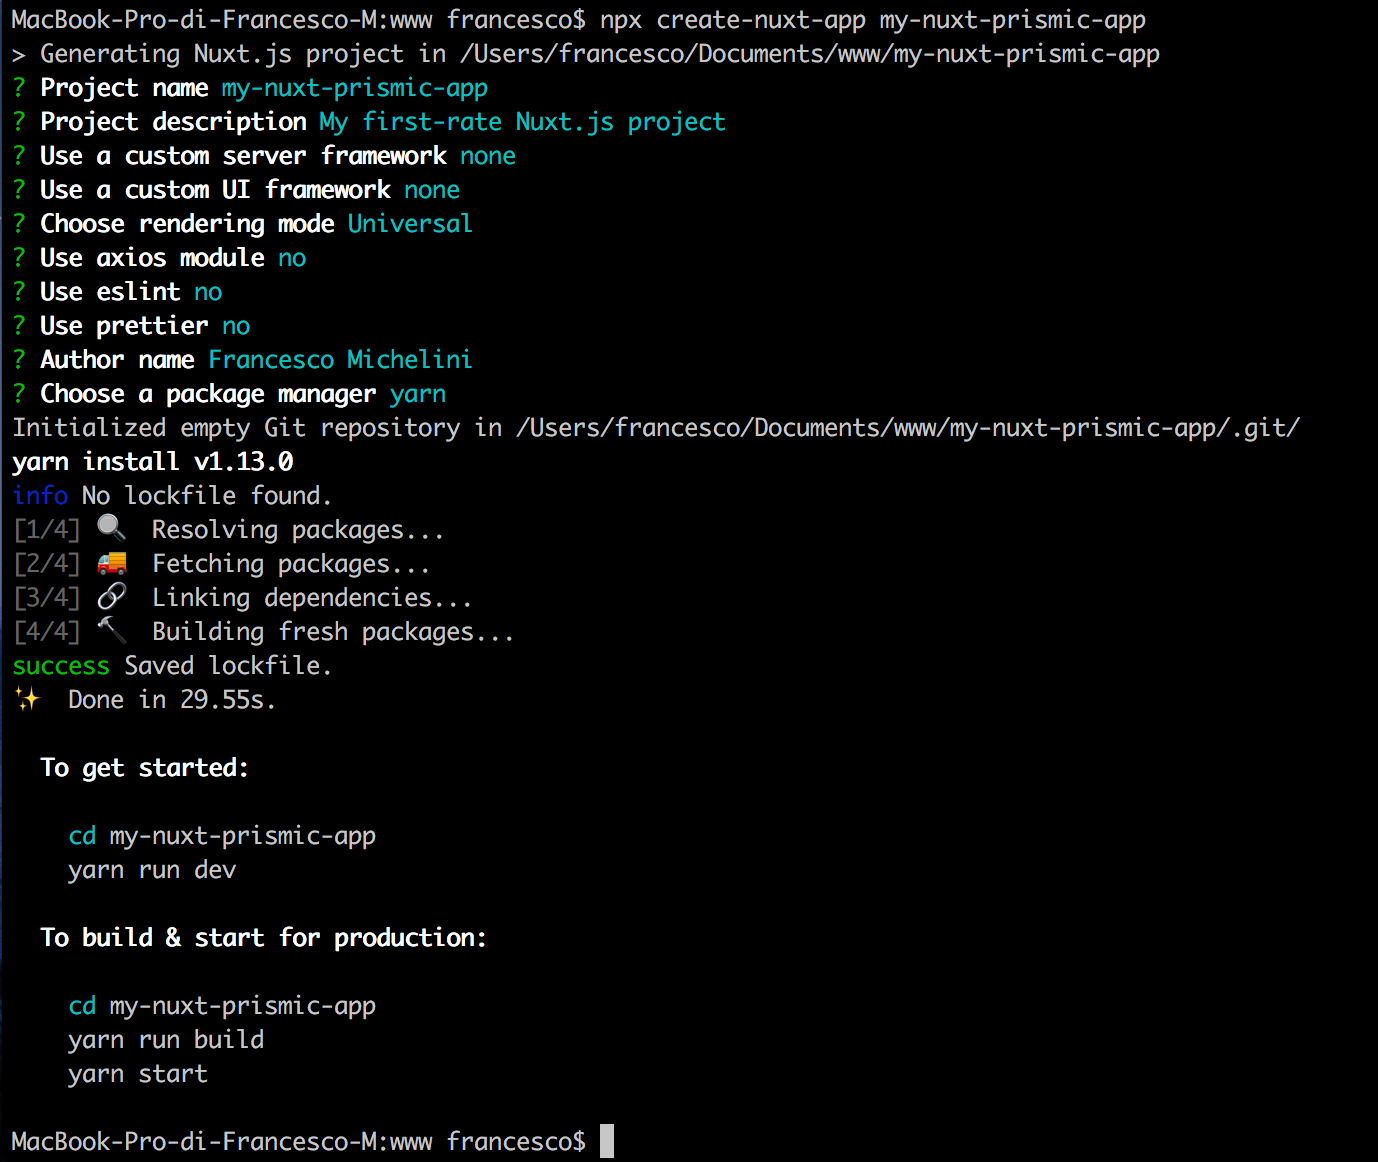
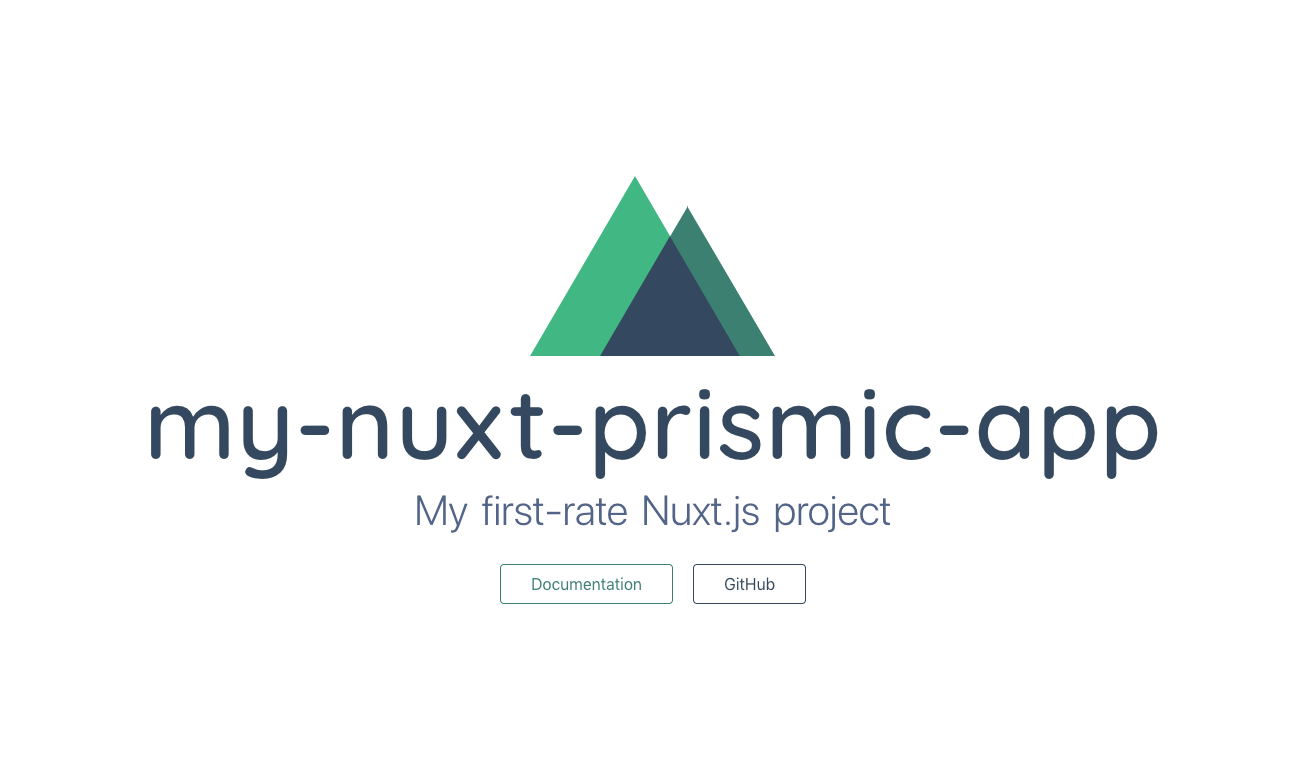
The next step is to cd into the project's folder and run
yarn run dev
and voilà, the new application is running at http://localhost:3000/.
02. Creating the Prismic backend
The website will be quite standard: it will have a homepage, an about page, a list of posts and an X amount of single post pages.
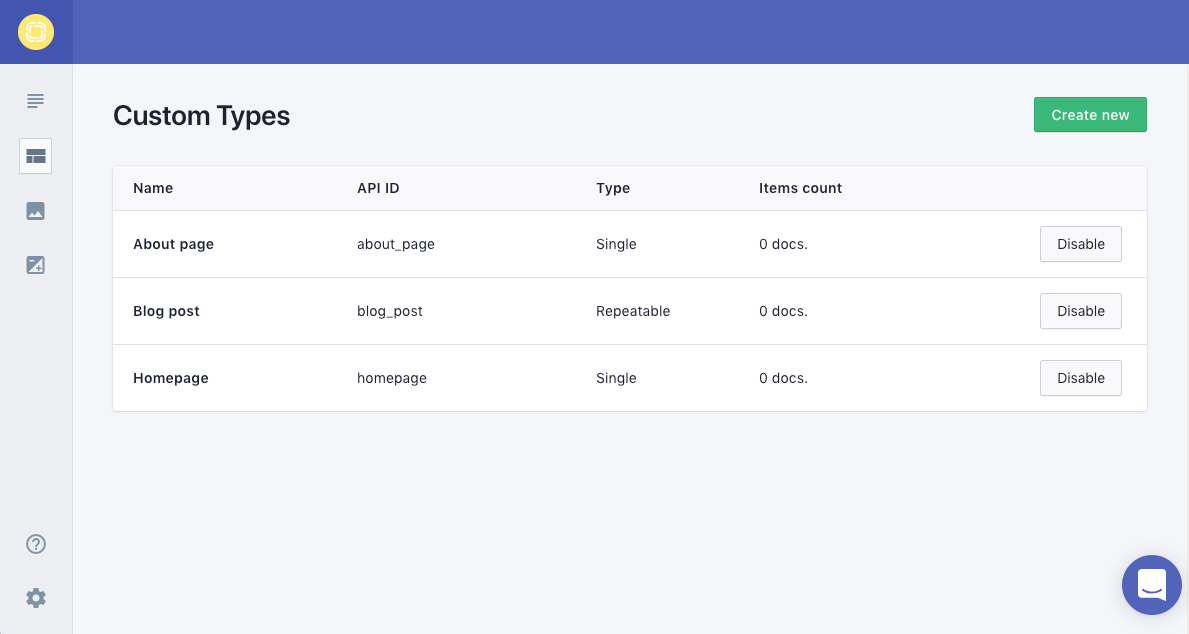
Let's start by logging in into our Prismic account and create a new repository with three content types:
- Homepage (single type)
- About page (single type)
- Blog post (repeatable type)
Important note
When creating the Blog Post content type, make sure you set up a UID field, it will be the slug of each post.
Noticed that I haven't set up a "Posts index" custom type? That's because I'll setup Nuxt to create that page when generating the website.
With the content types created, the custom types list will look like this
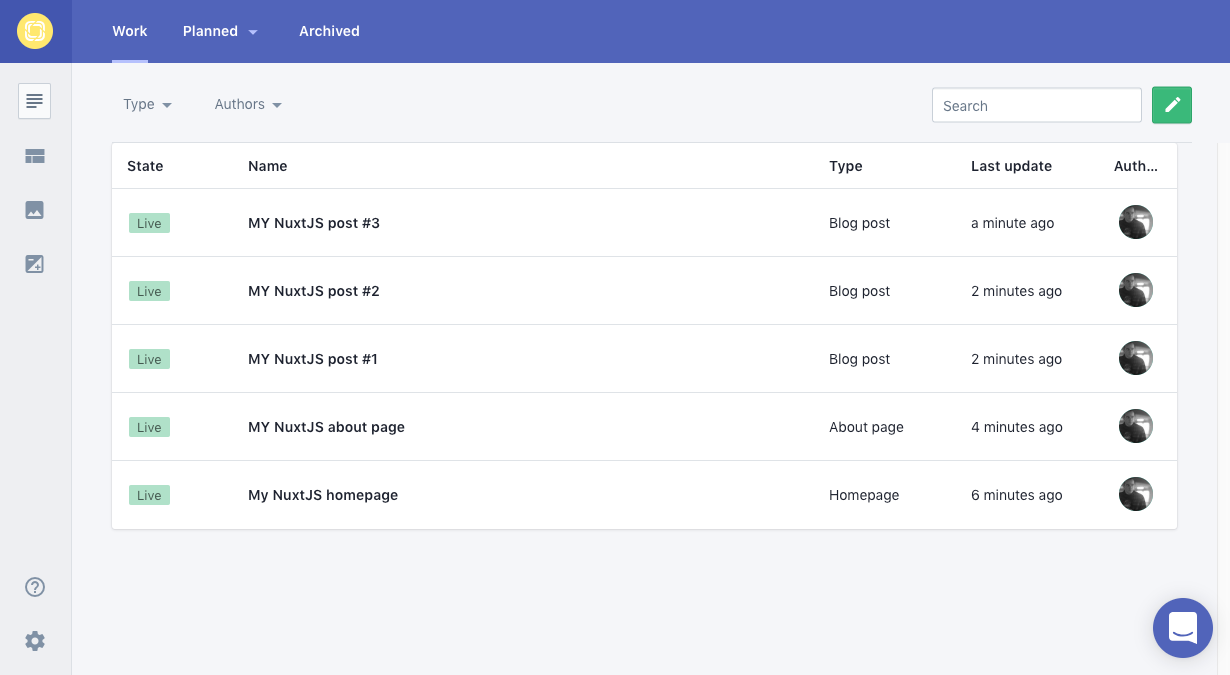
Now, let's fill in some content in the Content section
03. Set up Nuxt to retrieve content from Prismic
The first thing to do is to add the prismic-javascript and prismic-dom modules, which are the two libraries that allow to query and parse content from Prismic.
Install prismic-javascript and prismic-dom by running
yarn add prismic-javascript prismic-dom
and then create a prismic-config.js file at the root of the project with the following content:
// prismic.config.js
import Prismic from 'prismic-javascript'
import PrismicDOM from 'prismic-dom'
const config = {
  baseUrl: '<API_ENDPOINT>',
  access_token: '<ACCESS_TOKEN>'
}
export const initApi = req => {
  return Prismic.getApi(config.baseUrl, {
    accessToken: config.access_token,
    req: req
  })
}
export const linkResolver = doc => {
  if (doc.type === 'blog_post') return `/blog/${doc.uid}`
  return `/${doc.uid}`
}
export const generatePageData = (documentType, data) => {
  switch (documentType) {
    case 'homepage':
      return {
        title: PrismicDOM.RichText.asText(data.title),
        content: PrismicDOM.RichText.asText(data.content)
      }
    case 'about_page':
      return {
        title: PrismicDOM.RichText.asText(data.title),
        content: PrismicDOM.RichText.asText(data.content)
      }
    case 'blog_page':
      return {
        posts: data
      }
    case 'blog_post':
      return {
        title: PrismicDOM.RichText.asText(data.title),
        content: PrismicDOM.RichText.asText(data.content)
      }
  }
}
This file contains the Prismic's configuration and a couple of functions that are used in every template to initialize the APIs (initApi) and generate each page's content (generatePageData)
The Prismic API_ENDPOINT can be found in Settings -> API & Security -> API Endpoint.
An ACCESS_TOKEN is required only if the backend is set as Private in Settings -> API & Security -> Repository security
Now, open the nuxt.config.js file and add the following code:
// nuxt.config.js
const Prismic = require('prismic-javascript')
import { initApi } from './prismic.config'
module.exports = {
  ...
  generate: {
    routes: function() {
      // Fetch content for the homepage and generate it
      const homepage = initApi().then(api => {
        return api
          .query(Prismic.Predicates.at('document.type', 'homepage'))
          .then(response => {
            return response.results.map(payload => {
              return {
                route: '/',
                payload
              }
            })
          })
      })
      // Fetch content for the about page and generate it
      const aboutPage = initApi().then(api => {
        return api
          .query(Prismic.Predicates.at('document.type', 'about_page'))
          .then(response => {
            return response.results.map(payload => {
              return {
                route: '/',
                payload
              }
            })
          })
      })
      // Fetch all the blog posts to generate the Blog page
      const blogPage = initApi().then(api => {
        return api
          .query(Prismic.Predicates.at('document.type', 'blog_post'))
          .then(response => {
            return [{
              route: `/blog`,
              payload: response.results
            }]
          })
      })
      // Fetch again all the blog posts, but this time generating each post's page
      const blogPosts = initApi().then(api => {
        return api
          .query(Prismic.Predicates.at('document.type', 'blog_post'))
          .then(response => {
            return response.results.map(payload => {
              return {
                route: `/blog/${payload.uid}`,
                payload
              }
            })
          })
      })
      // Here I return an array of the results of each promise using the spread operator.
      // It will be passed to each page as the `payload` property of the `context` object,
      // which is used to generate the markup of the page.
      return Promise.all([homepage, aboutPage, blogPage, blogPosts]).then(values => {
        return [...values[0], ...values[1], ...values[2], ...values[3]]
      })
    }
  },
  ...
}
What the code above does is pretty simple: it queries all of our custom types (homepage, about_page and blog_post) from Prismic and passes the data to our templates.
04. Create templates and components
I'll try to explain all of these templates and components, but you can just copy-paste them in their respective locations.
<!-- components/MainNav.vue -->

<template>
  <nav class="nav">
    <nuxt-link to="/">Logo goes here</nuxt-link>
    <ul class="nav-links">
      <li class="nav-link"><nuxt-link to="/">Homepage</nuxt-link></li>
      <li class="nav-link"><nuxt-link to="/about">About</nuxt-link></li>
      <li class="nav-link"><nuxt-link to="/blog">Blog</nuxt-link></li>
    </ul>
  </nav>
</template>

<style scoped>
.nav {
  align-items: center;
  display: flex;
  justify-content: space-between;
  padding: 20px;
}
.nav-links {
  list-style-type: none;
  margin: 0;
  padding: 0;
}
.nav-link {
  display: inline-block;
  margin-left: 20px;
}
</style>
☝ The navigation top bar
<!-- layouts/default.vue -->

<template>
  <div>
    <main-nav/>
    <nuxt/>
  </div>
</template>

<script>
import MainNav from '@/components/MainNav.vue'
export default {
  components: {
    MainNav
  }
}
</script>


<style>
html {
  font-family: 'Source Sans Pro', -apple-system, BlinkMacSystemFont, 'Segoe UI',
    Roboto, 'Helvetica Neue', Arial, sans-serif;
  font-size: 16px;
  word-spacing: 1px;
  -ms-text-size-adjust: 100%;
  -webkit-text-size-adjust: 100%;
  -moz-osx-font-smoothing: grayscale;
  -webkit-font-smoothing: antialiased;
  box-sizing: border-box;
}
body {
  background-color: #fafafa;
  margin: 0;
}
a {
  text-decoration: none;
  color: #5CBEFD;
}
*,
*:before,
*:after {
  box-sizing: border-box;
}
</style>
☝ The default layout with common styles
<!-- pages/index.vue -->

<template>
  <section class="container">
    <h1>{{ "{{" }} title }}</h1>
    <div>{{ "{{" }} content }}</div>
  </section>
</template>

<script>
import Prismic from 'prismic-javascript'
import { initApi, generatePageData } from '@/prismic.config'
export default {
  asyncData(context) {
    if (context.payload) {
      return generatePageData('homepage', context.payload.data)
    } else {
      return initApi().then(api => {
        return api
          .query(Prismic.Predicates.at('document.type', 'homepage'))
          .then(response => {
            return generatePageData('homepage', response.results[0].data)
          })
      })
    }
  }
}
</script>
☝ Our homepage.
As you can see, I've set up an asyncData() method. This method is part of NuxtJS and is responsible for fetching the data before rendering the page.
Inside of asyncData() I check if the context object has the payload property (if the yarn generate script is running).
If so, we directly return the data using the generatePageData() function I created in prismic.config.js.
But the payload is only available when I'm generating the site using yarn generate, during development payload doesn't exist, so we have to fetch our data from Prismic first and then return the data with generatePageData().
<!-- pages/about.vue -->

<template>
  <section class="container">
    <h1>{{ "{{" }} title }}</h1>
    <div>{{ "{{" }} content }}</div>
  </section>
</template>

<script>
import Prismic from 'prismic-javascript'
import { initApi, generatePageData } from '@/prismic.config'
export default {
  asyncData(context) {
    if (context.payload) {
      return generatePageData('about_page', context.payload.data)
    } else {
      return initApi().then(api => {
        return api
          .query(Prismic.Predicates.at('document.type', 'about_page'))
          .then(response => {
            return generatePageData('homepage', response.results[0].data)
          })
      })
    }
  }
}
</script>
☝ The About page, same as the homepage
// pages/blog/index.vue

<template>
  <div class="container">
    <h1>Blog page</h1>
    <hr>
    <article class="post" v-for="(post, index) in posts" :key="index">
      <header>
        <h1>
          <nuxt-link :to="`/blog/${post.uid}`">{{ "{{" }} "{{ "{{" }}" }} Dom.RichText.asText(post.data.title) }}</nuxt-link>
        </h1>
      </header>
    </article>
  </div>
</template>

<script>
import Prismic from 'prismic-javascript'
import PrismicDOM from 'prismic-dom'
import { initApi, generatePageData } from '@/prismic.config'
export default {
  data() {
    return {
      Dom: PrismicDOM
    }
  },
  asyncData(context) {
    if (context.payload) {
      return generatePageData('blog_page', context.payload)
    } else {
      return initApi().then(api => {
        return api
          .query(Prismic.Predicates.at('document.type', 'blog_post'))
          .then(response => {
            return generatePageData('blog_page', response.results)
          })
      })
    }
  }
}
</script>
☝ The blog page.
Here, the code inside the asyncData() method is a bit different from the one of Homepage or the About page; that's because there's an array of contents.
The difference here is that we do not pass the data property of the payload to generatePageData(), but directly the payload.
Also, we include the PrismicDOM library to the component's data, so that we can use it to print all our contents into the template by writing
Dom.RichText.asText(post.data.title)
where needed.
(Yes, I could avoid using the PrismicDOM library, but in that case we have to write something like post.data.title[0].text[0])
<!-- pages/blog/_slug/index.vue -->

<template>
  <div class="container">
    <h1>{{ "{{" }} title }}</h1>
    <div>{{ "{{" }} content }}</div>
  </div>
</template>

<script>
import Prismic from 'prismic-javascript'
import { initApi, generatePageData } from '@/prismic.config'
export default {
  asyncData(context) {
    if (context.payload) {
      return generatePageData('blog_post', context.payload.data)
    } else {
      return initApi().then(api => {
        return api
          .query(Prismic.Predicates.at('my.blog_post.uid', context.params.slug))
          .then(response => {
            return generatePageData('blog_post', response.results[0].data)
          })
      })
    }
  }
}
</script>
☝ The single post template
First of all, did you notice the file structure? The folder's name starts with an underscore, that means that its name will be auto-generated via our configuration in nuxt.config.js.
For our single posts we wrote
route: `/blog/${payload.uid}`
This means that _slug will be replaced with the UID of our post, resulting in a tree that will look like this:
/root
  /blog
    /post-01
      index.html
    /post-02
      index.html
    /post-03
      index-html
Conclusion
You did it, you've managed to create a NuxtJS website that fetches its content only during the build process (except for development of course).
This allows you to save a lot of bandwidth (and also money) because it only calls the APIs once per content type instead of every page load. Cool uh?
I hope you found this post useful, if you have questions, found a bug or just want say hi, leave a comment.